
To measure for a saree blouse at home, wear the bra you will wear with it and ask someone to help. Measure bust, under-bust, shoulder, armhole, sleeve length and round, blouse length, bust point, and front and back neck depth, in inches, with the tape snug but not tight. Or send a blouse that fits.
Before you start
- Wear the bra you will wear with the blouse. Padded, unpadded and strapless all change the fit.
- Wear a thin, close-fitting top, or measure over the bra alone.
- Use a soft cloth measuring tape, not a metal one, and measure in inches. Most South Asian tailors work in inches.
- Ask someone to help. Measuring your own back and shoulders accurately is close to impossible.
- Stand naturally, arms relaxed, and breathe normally. Do not hold your breath or pull your stomach in.
- Keep the tape snug, flat and level, not tight. You should be able to slide a finger under it.
The measurements, one by one
| Measurement | How to take it |
|---|---|
| Bust | Around the fullest part of the bust, with the tape level all the way across the back |
| Under-bust | Directly under the bust, snug, where the blouse band will sit |
| Waist | Only for longer blouses: around the natural waist, just above the navel |
| Shoulder | From one shoulder point straight across the back to the other |
| Armhole | Around the arm where it meets the shoulder, tape passing under the armpit |
| Sleeve length | From the shoulder point down to where you want the sleeve to end |
| Sleeve round | Around the arm where the sleeve will end, with a little ease |
| Bicep | Around the fullest part of the upper arm |
| Blouse length | From the shoulder at the side of the neck, over the bust, down to where the blouse should end |
| Bust point | From the shoulder at the side of the neck down to the fullest point of the bust |
| Front neck depth | From the base of the neck at the centre front down to where the neckline should sit |
| Back neck depth | From the base of the neck at the back down to where the back neckline should sit |
Step by step
- 1. Bust and under-bustWrap the tape around the fullest part of the bust and check it is level at the back in a mirror. Then measure directly under the bust.
- 2. ShoulderFind the bony point at the top of each shoulder. Measure across the back from one to the other.
- 3. Armhole and armMeasure around the arm at the shoulder, then the bicep, then where the sleeve will end.
- 4. Sleeve lengthFrom the shoulder point down the outside of the arm to your chosen length: cap, elbow, three-quarter or full.
- 5. Lengths and bust pointFrom the side of the neck, measure down to the bust point, then on to where the blouse should end.
- 6. Neck depthsDecide how deep you want the front and back. Measure down from the base of the neck to that point, front and back separately.
- 7. Write it downNote every number with its name, and the bra you wore. Take a photo of the list.
Mistakes that cause a bad fit
- Measuring over a thick sweater or a different bra.
- Pulling the tape tight to get a smaller number. The blouse will be uncomfortable and pull at the seams.
- Letting the tape dip at the back for the bust. It adds an inch or more.
- Measuring shoulder from the neck instead of from shoulder point to shoulder point.
- Guessing neck depth. A back neck that is two inches deeper than you meant is hard to wear with a bra.
- Taking measurements months before stitching. Bodies change; measure close to the time.
Style choices that affect measurements
Some blouse styles need extra information. Tell your tailor which style you want before you send numbers, because it changes what they need.
- Princess cut: shaped panels over the bust for a closer fit. Bust point and under-bust matter more.
- Boat neck: wide and high at the front. Shoulder and neck width matter more than front depth.
- High neck or collar: measure around the base of the neck too.
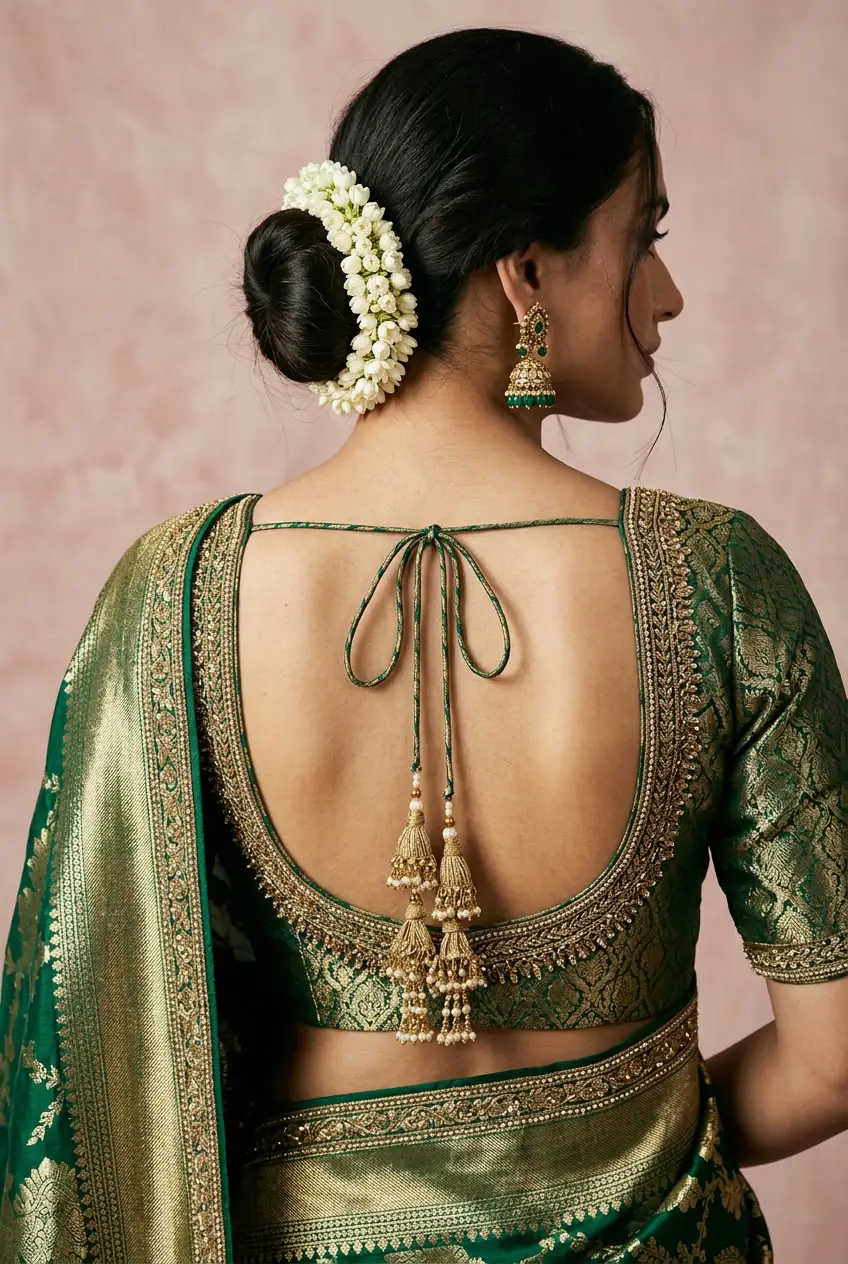
- Backless with dori (tie-up cords): back depth and how it will sit with your bra are key.
- Padded: say whether you want cups added, and bring the bra you would otherwise wear.
- Hooks or zip, front or back opening: your choice, but tell your tailor early.
Sending measurements to us
You can WhatsApp your numbers to our Newton studio with a photo of the style you want and a photo of your fabric. Our measurement guide lists the same measurements with a printable sheet. We keep your measurements on file, so next time you can just drop off fabric.
For anything important, such as a bridal blouse, a blouse with heavy work, or a first order with us, we strongly suggest a ten-minute fitting in the studio. Home measurements are a good start; a trial fitting is where the fit is finished. Every blouse we stitch includes one trial fitting.
| Blouse | Price | Ready in |
|---|---|---|
| Simple blouse | $55 | 7–10 days |
| Lined or padded blouse | $70 | 7–10 days |
| Princess cut or designer back | $90 | 7–10 days |
| Bridal blouse, handwork finishing | $120 | 7–10 days |
| Saree Ready bundle: lined blouse, petticoat, fall and pico | $115 | 7–10 days |
Questions
Can I measure myself for a saree blouse?
You can, but a helper makes it much more accurate, especially for shoulder and back measurements. Or send a blouse that already fits.
Should I measure in inches or centimetres?
Inches, if you can. Most South Asian tailors in Surrey work in inches, and it avoids conversion mistakes.
What bra should I wear to measure for a blouse?
The exact bra you will wear with the blouse. Different bras change the bust measurement and fit.
How much fabric do I need for a saree blouse?
Many sarees come with an attached blouse piece. If you are buying separately, ask your tailor first, as sleeves, lining and back designs change the amount.
Can you copy a blouse I already have?
Yes. Bring a blouse that fits well and we'll use it as the pattern, then adjust at your trial fitting.